Popups #2: Create a Popup
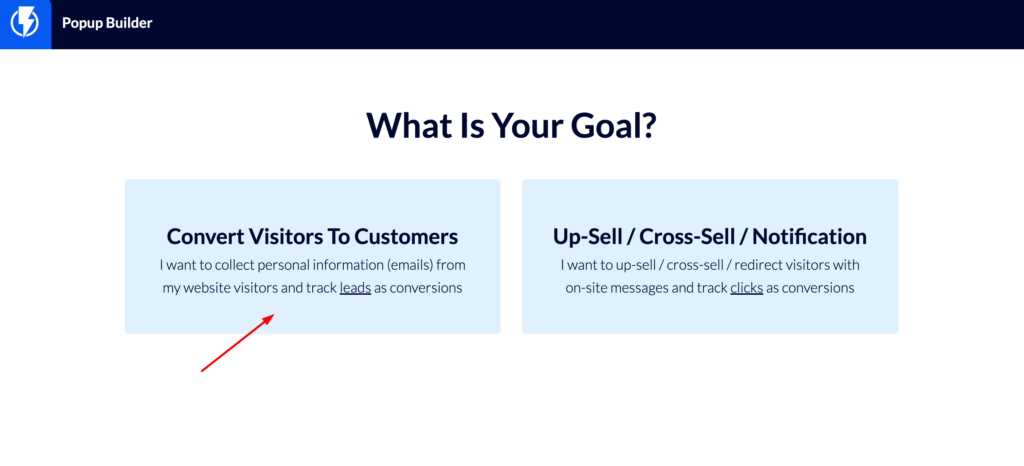
When creating popups within Flashy, it’s important to identify the goals you want to achieve before getting started. Flashy has two different types of popups, each with a separate goal:
- Convert Visitors to Customers: Choose this popup path if your goal is to collect personal information (emails) from your website visitors and track leads as conversions.
- Upsell / Cross-sell / Notification: Select this popup path if you want to upsell, cross-sell, or redirect visitors with on-site messages and track clicks as conversions.
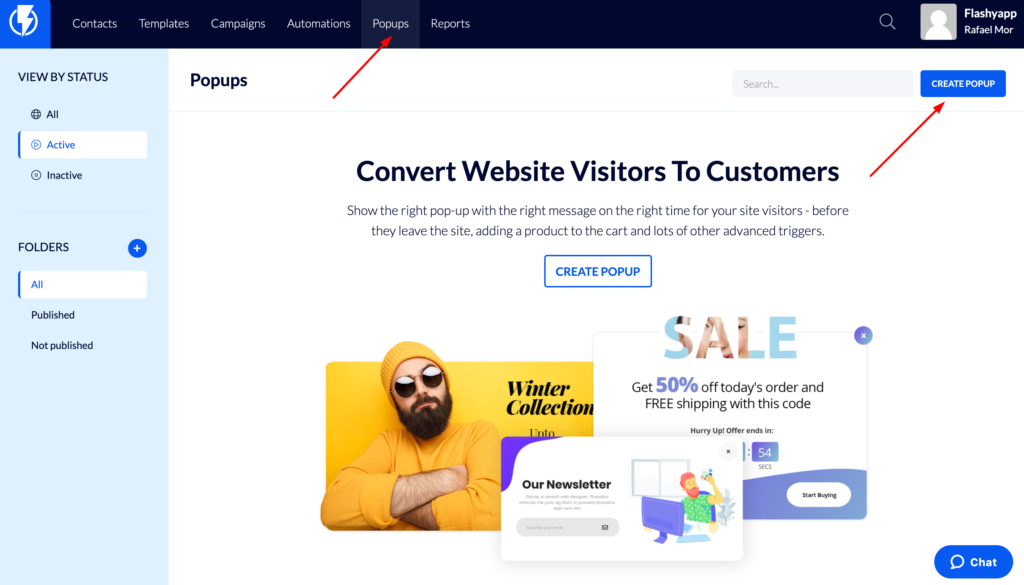
We’ll proceed here with an example using the first goal: Convert visitors to customers. Go to Popups in your Flashy dashboard at the top of the page. Click on the blue “Create Popup” button in the top-right corner of the page. Click on the banner containing the Convert Visitors goal to enter it.
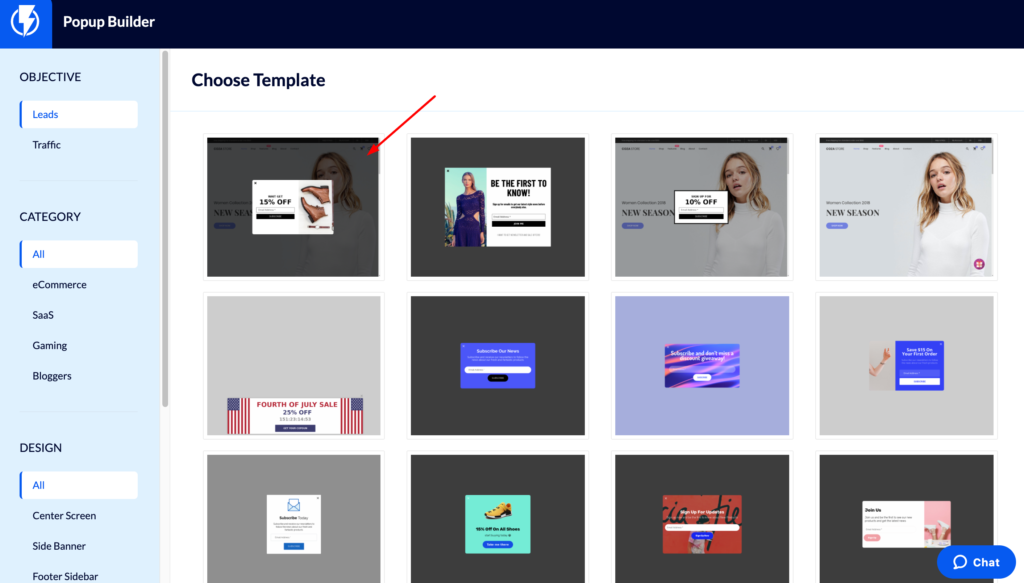
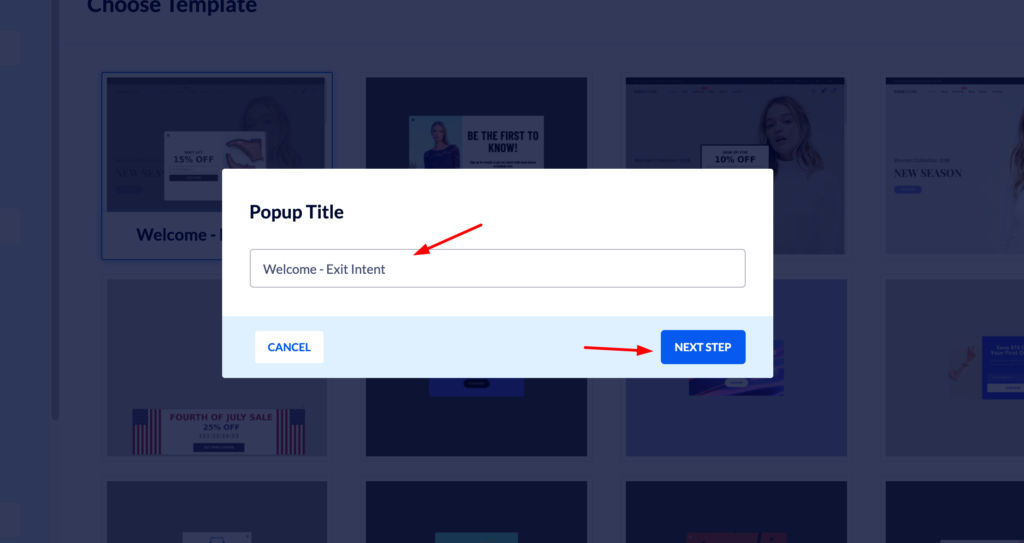
Here you’ll see a wide variety of popup template options in different styles and formats. You can customize your popup as much or as little as you want.
Once you’ve chosen a template, click on it and add a title. Then click the blue “Next Step” button.
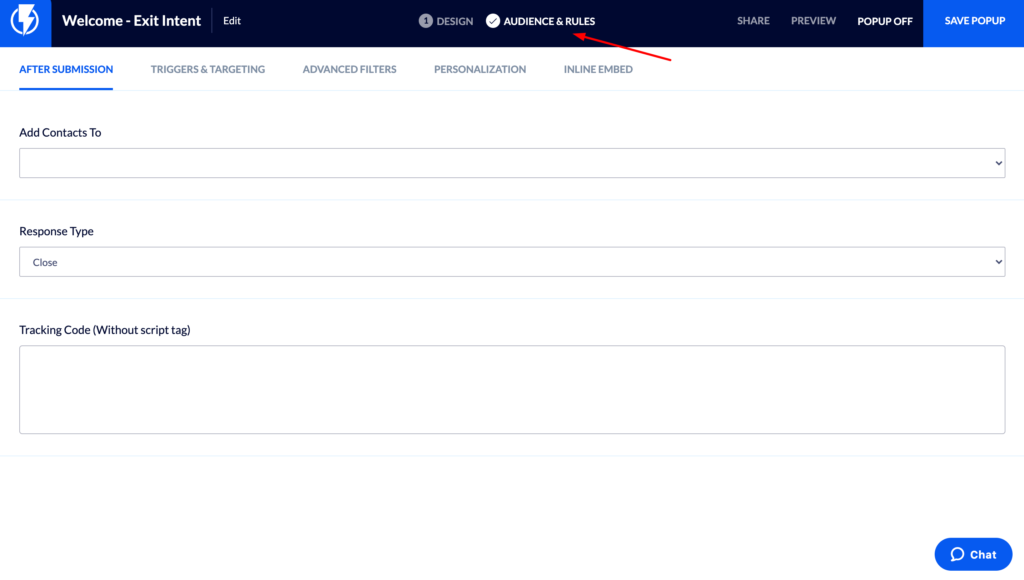
This is the popup design screen where you can easily edit and customize your popup.
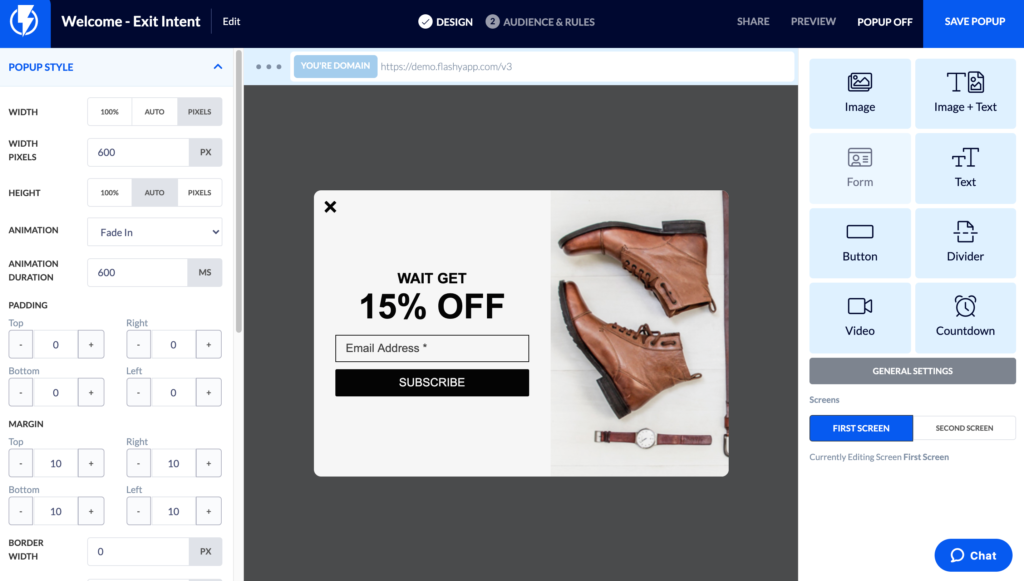
When you are happy with your popup design, click the “Audience and Rules” heading at the top of the screen. This is where you will determine who will see that amazing popup you’ve just created, and under what conditions.